5 Steps You Need To Know Before Painting Your Kitchen Cabinets.
Are you tired of your outdated kitchen cabinets and can’t take on the big cost of a renovation? Kitchens can be one of the most expensive rooms to renovate, but you can get big savings by DIYing your kitchen cabinets. If your tired, outdated cabinets are still in good condition, here are 5 steps to help you tackle your project and make it a success!
Style & Colour
One of the great things about painting your kitchen cabinets is that you can get the look of a custom kitchen, without the expense.
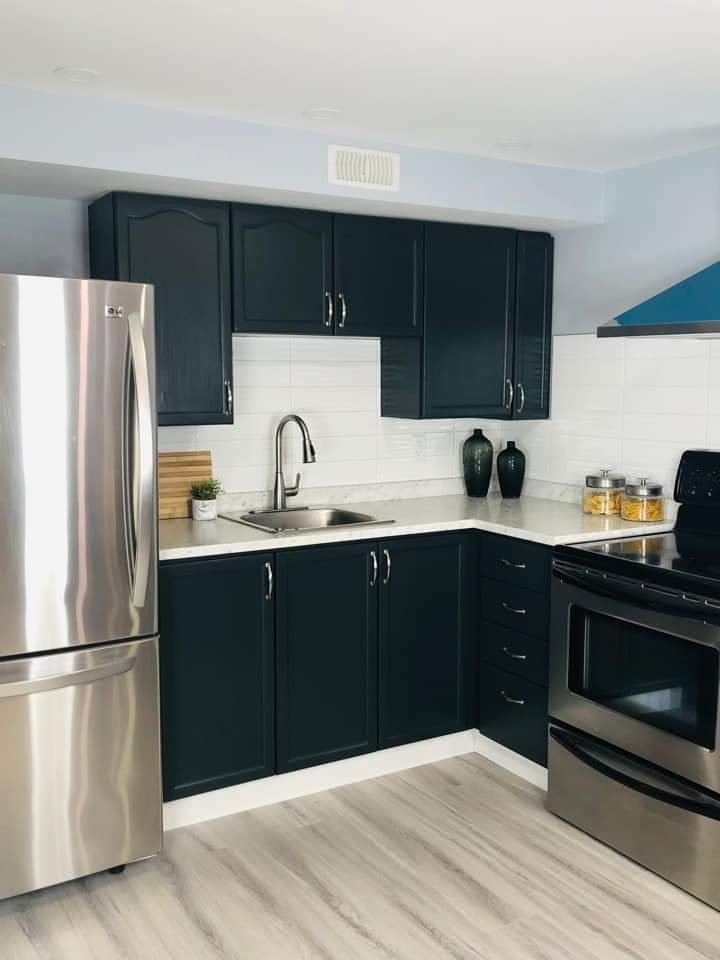
Photo credit - Lotus Theory Designs
The first step is deciding on the style and colour for your cabinets. Do you love a sleek, contemporary look, a fun, bold colour or an aged, rustic kitchen? Using Dixie Belle paint or Silk All In One Mineral paint will give you over 80 colours to choose from, making it easy to find the perfect colour. If you are finding it difficult to decide on a style or choosing a colour head over to Pinterest to look at painted kitchens to get some inspiration.
Photo credit House Beautiful
Prep
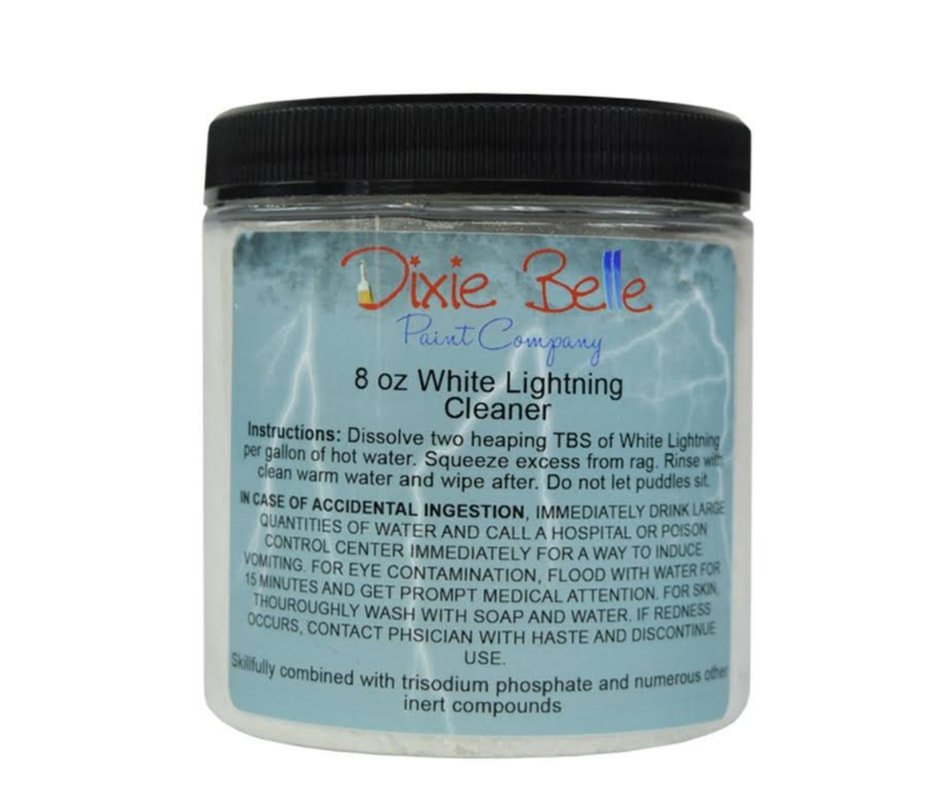
Prep is an important step when painting furniture, but it is essential when painting kitchen cabinets. Properly prepping your cabinets first will remove any oil or grease build up and ensure your paint will adhere. Start by cleaning your cabinets with White Lightning. Using shop rags and a scrub brush will help get them super clean.
Next, use 220 sandpaper and give the cabinets a quick scuff sand to give it some tooth. Then use a damp lint free cloth to remove any residue. If your cabinets are solid wood you can move onto the next step. If your cabinets are laminate you will need to add an extra step and use Slick Stick first. If you are unsure about the surface or if the surface is very slick, use Slick Stick as a precaution.
If you are concerned about bleed through- when red, yellow or brown spots appear on the painted surface, apply 2 coats of Boss before moving on to the next step.
Paint
Investing in good quality paint brushes is key and will make a big difference in application. Generally having a few synthetic brushes on hand will make the job easier. Having a 2 brush, a round or oval brush, a 1 brush and a microfiber roller will help you get a smooth, even finish and get into all of the crevices.
For a smooth finish, make sure to apply the paint in long strokes and avoid overworking the paint. While painting, spray your with a Continuous Spray Mister to give a smooth finish and help keep the paint moving. Apply 2 coats of paint to get the best results and let it dry.
Finish
Making sure your cabinets are protected is important. Dixie Belle’s Gatorhide is a great option, it’s very durable, easy to apply and is water repellent. Using Dixie Belle’s blue sponge to apply Gatorhide minimizes streaking and makes it so easy to get into all of the crevices.
Apply up to three thin coats for more durability, waiting approximately 2 hours between coats. After 21 -30 days your surface will be fully cured.
Set Small Goals
Painting a kitchen can feel daunting, even overwhelming for some. When starting your project, break your project down into achievable goals. For example, expecting to complete your kitchen in one day may not be realistic. Setting small goals will help keep your project moving forward and successful.
If you have never picked up a paint brush before but want to paint your cabinets, stop by your local thrift store and pick up a small project like a chair or small table to try out painting first. This will help give you confidence and an understanding of how the paint works.
Lastly, if you find that you need some support before beginning your project, registering for a furniture painting class is a great way to learn techniques and give you the confidence to tackle your project.
Here are a few painted kitchens for some inspiration. Happy painting!
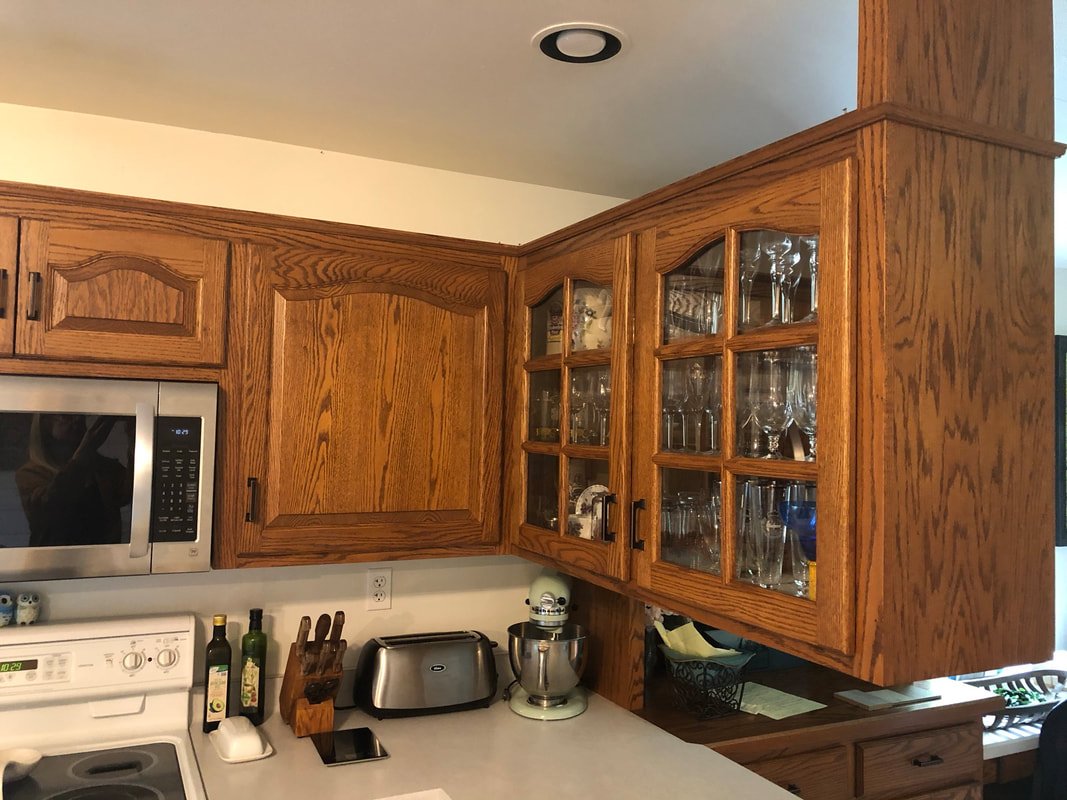
Before - Wise Little Owl Furniture
After
Before- Perception An Eye For Treasure
After


